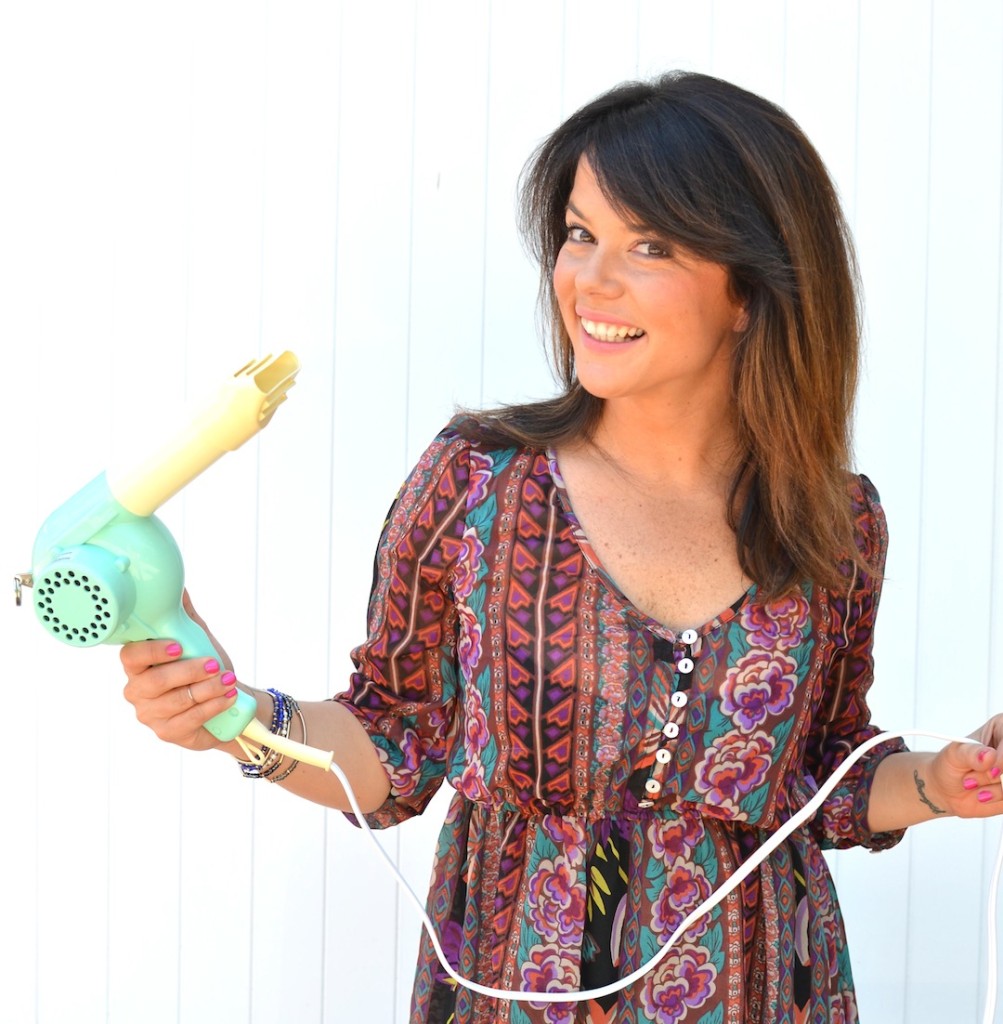
It happens everyday. I finish blowing out a clients hair and they sigh and mumble something about wishing they could duplicate what I just did. I usually reply with “me too” and I genuinely mean it. I know how to give a great blowout (try me!) and yet it’s nearly physically impossible to do it on my own head. Plus I just don’t have the time to section my hair like I do with my clients and contort and fight with a round brush. I believe that you can have a great at home blowout in about 10 mins (or less!). Here’s how…
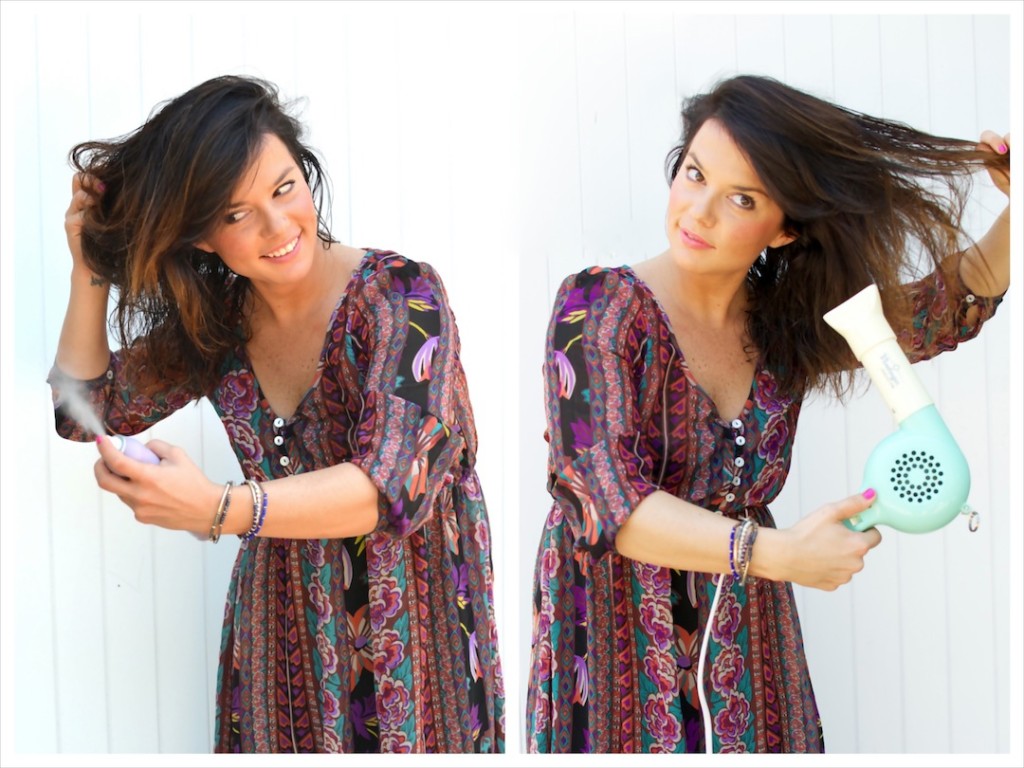
STEP ONE: PREP AND POWER DRY
You need to protect your locks before you put ANY heat on them and I highly recommend the Living Proof Revitalizing Spray. It’s an aerosol so it wont weigh the hair down and protects it from both UV and heat damage! Everyone needs a heat protectant – Period. You will also want to choose whatever styling products you need for your hair but for this post let’s focus on the blow out rather than the products. Once you are prepped you can start power drying. Flip upside down, shake it around, whatever you need to do just get it about 90% dry. Focus on the roots and hairline and use your fingers to pull on the hair to add volume or to smooth frizz. When you think it’s 90% dry…dry it a little more. This is a HUGE time saver and most of the magic happens after all of the wet is out.
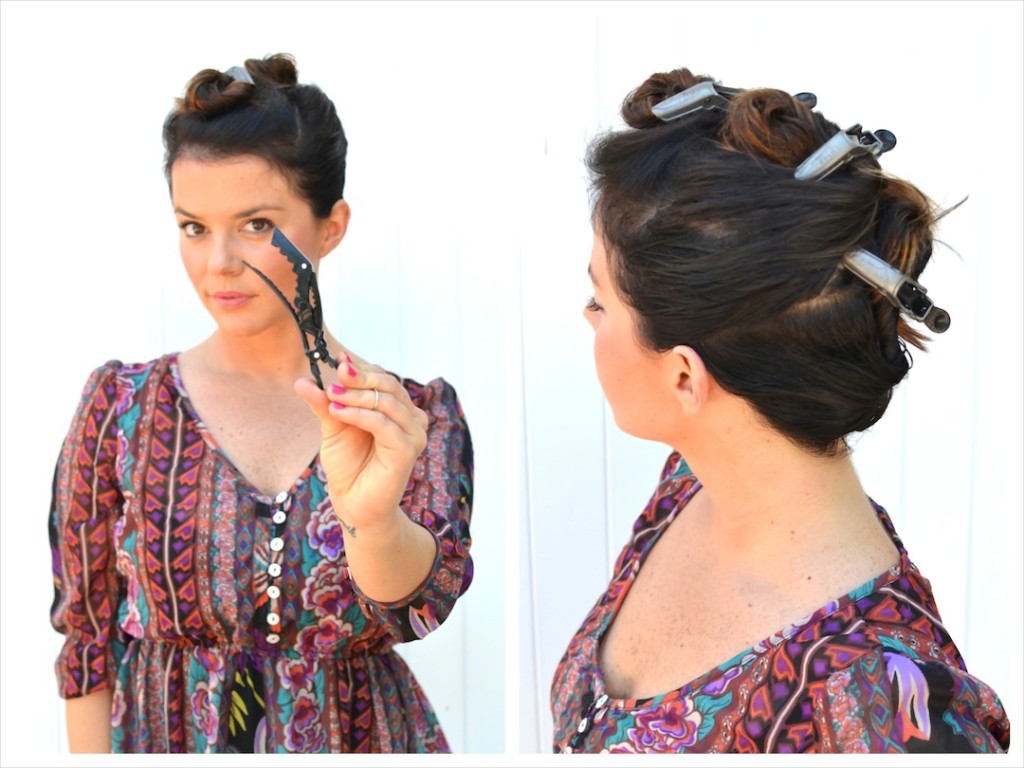
STEP TWO: SECTION
Section your hair into 3 sections (see above). I like using these big claw clips because they really hold the hair into place and wont slide around!
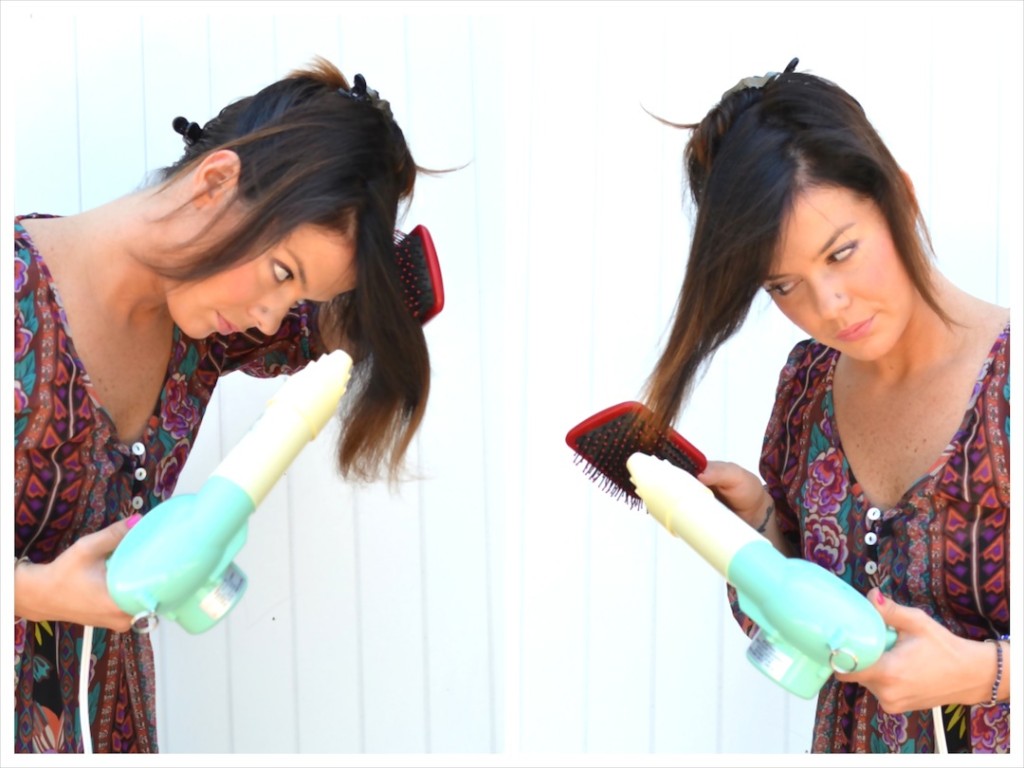
STEP THREE: START DRYING
Let the TOP section down while the rest stays clipped and out of your way. Working in front of you use a large paddle brush and begin smoothing hair out. Try to keep your blow dryer and brush “married” and moving together. This will keep the hair from blasting all over the place and will give more control. Once your top section is dry, add the second section and repeat and then follow with the third until all of your hair is dry.
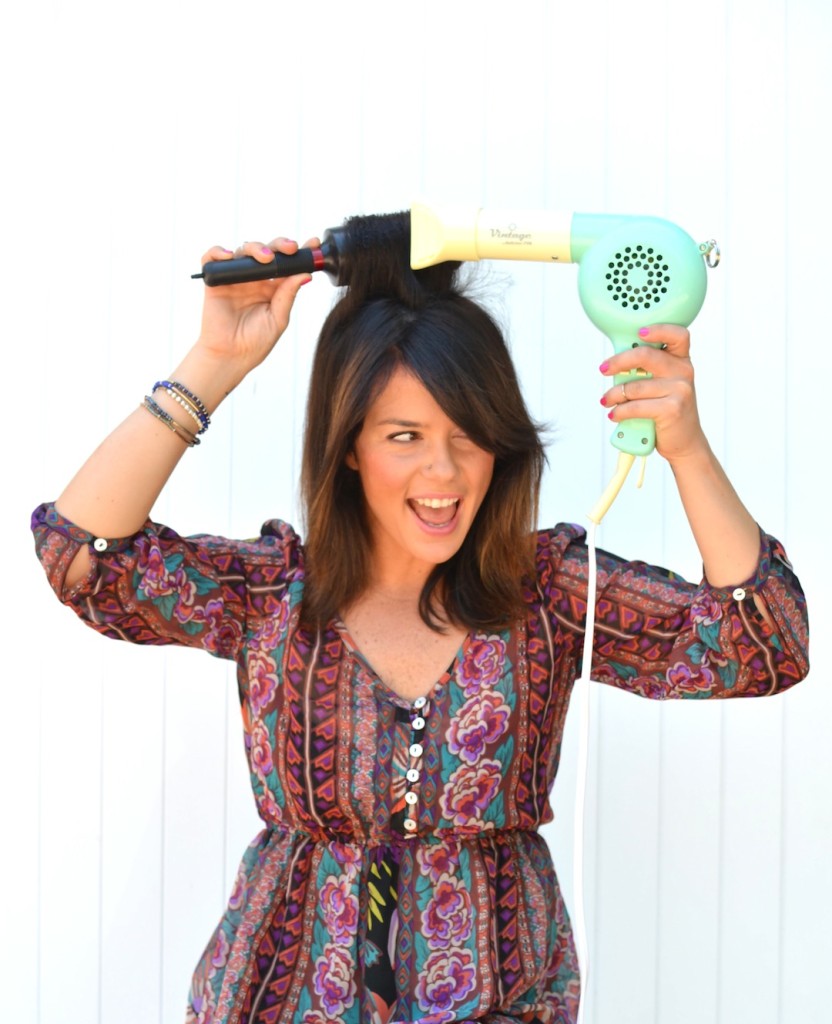
STEP FOUR: FINISH
Flip your hair back over and make sure your hair is 100% dry. A lot of times the hair is just warm, not fully dry, so make sure it’s totally dry. At this point you may be finished! Or, if you have bangs you can re-wet the front area and use a round brush to finish out the bangs or add volume to the roots!
It really is that easy and it’s how I dry my own hair at home! I teach blow out classes at the salon and people are always amazed at how much time they save following these tips. If it’s not working for your then I encourage you to reach out to your stylist for some personalized help with your hair type or feel free to ask questions in the comments section below…I’d love to hear from you!
Good luck!

Molly Styles Kendrick
December 16, 2013 at 6:19 pm (11 years ago)Hey Martha Lynn!,
Ever since you published this post, I’ve been doing my blow outs this way, and it’s been wildly successful!! I have struggled with The Blow Out for years! Just wondering, what kind of “sleek and shine” products do you recommend pre-blowout?
Thanks!,
Molly
Martha Lynn
December 17, 2013 at 4:55 pm (11 years ago)Oh I’m so glad you like it! I am in love with the Living Proof No Frizz line and Satin although you don’t need much 🙂 Start with the No Frizz Styling cream and make sure you comb it through so it’s evenly distributed. You can use a pearl size drop of Satin and then blow out. Once it’s dry you can use another pearl size drop if you still need a little more smoothing. Good Luck!