I have a MAJOR spoiler alert for you…the majority of the hair you are dreaming about is not real! Yes there are those few incredibly blessed ladies that were born with gorgeous hair down to their waist but they are the exception. For most of us (my hand is raised here too), our hair grows to a terminal length and then it starts disintegrating at the end. When I am glancing at my friend’s Pinterest boards they are FULL of models, celebrities, and fashion bloggers and I would bet the house that most of them have extensions. The good news is that if you want long voluminous hair there is a solution! Clip in extensions are not only affordable, they are so easy to snap in for a special occasion. I go through phases with mine. For example, I wore them everyday for AUSTIN FASHION WEEK, took a little break this summer and then for the TEXAS GLAM shoot I used two sets! I save them for special occasions or when I’m going to be professionally photographed.
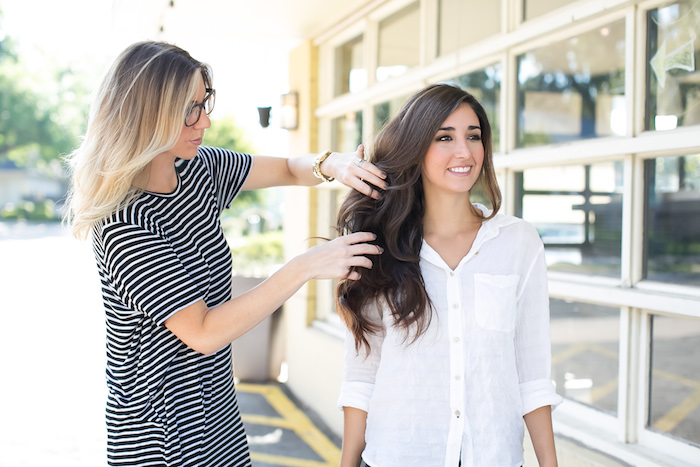
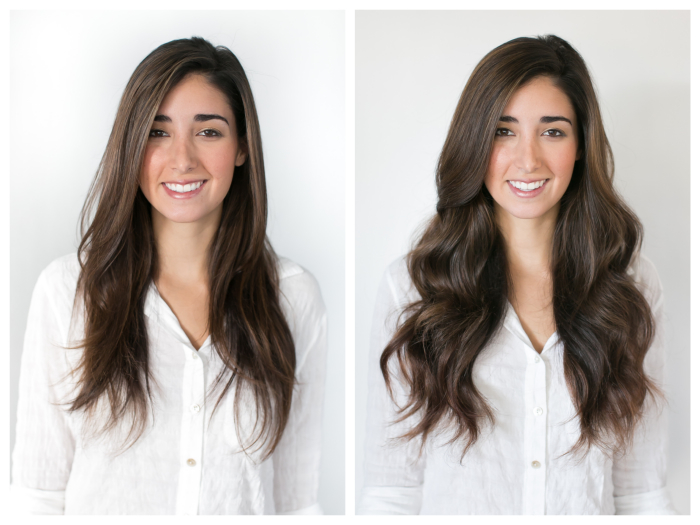
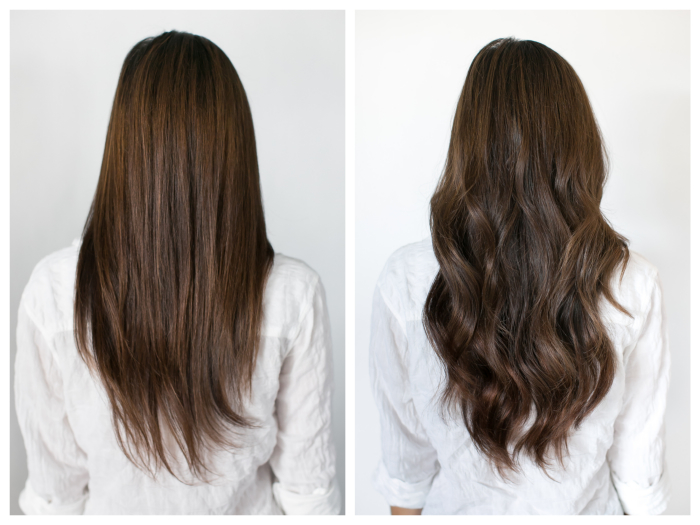
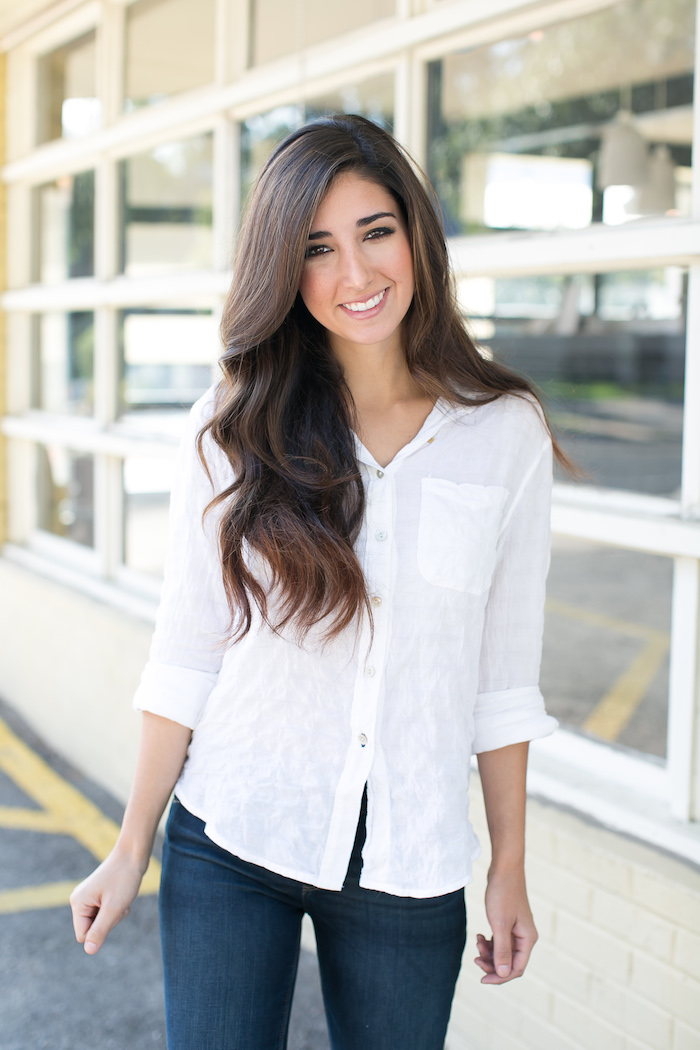
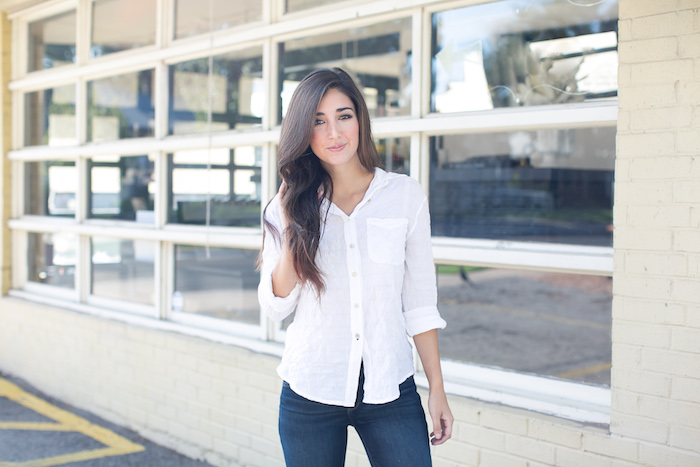
I have been dying to share this step by step so I reached out to drop dead gorgeous blogger Jessi Afshin from The Darling Detail to model what clip on extensions can do for your hair. She already has beautiful hair, these extensions just gave it that cherry on top and she was all smiles once we put them in! Keep scrolling for the ins and outs and step by step on clip on hair extensions!
CHOOSING THE COLOR AND LENGTH
I like the Euronext Premium Remy Hair Extensions from Sally’s. They include 4 longer wefts with 3 clips each and 4 small wefts for the sides with 1 clip each. They are real hair and can be colored. Keep in mind that if they need to be colored make sure you are communicating with your stylist so they can guide you on whether you should err on the side of darker than your color or lighter should there not be a perfect match. My hair has been a range of blondes and I have always used the “blonde frost” color for me and most of my blonde clients, I love them because they are already low lighted. On Jessi the color was a dark brown and I ended up doing a balayage on the ends to blend with the natural lightness on her ends!
The length is up to you but a good rule of thumb is that you can realistically add about 4 inches of length before you might need a professional or another pack of extensions. We used 18 inch extensions on Jessi and I normally use the 14 inch extensions on myself unless I am doing a braid or something requiring more length. You may need a stylist to cut them in the first time so they blend!
Treat them the way you treat your hair. Make sure you wash them with really good shampoo and conditioner (we used Living Proof No Frizz Shampoo and Conditioner) and I like to let them air dry. They are naturally wavy so they blend great with Jessi’s hair but if your hair is straight you may want to blow them out straight.
START WITH THE BACK
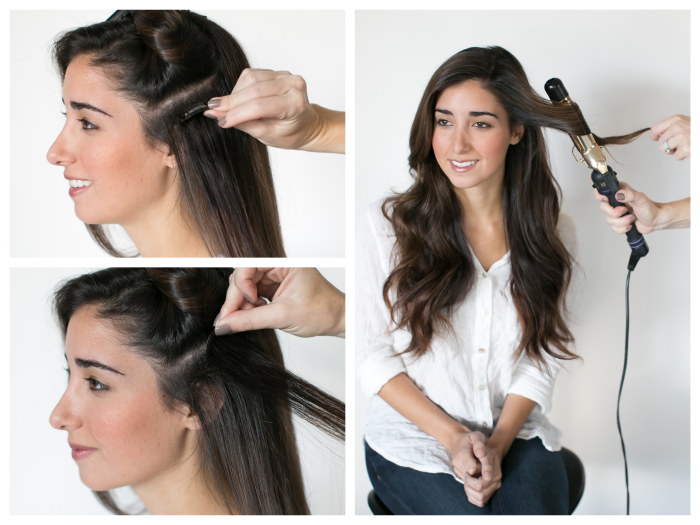
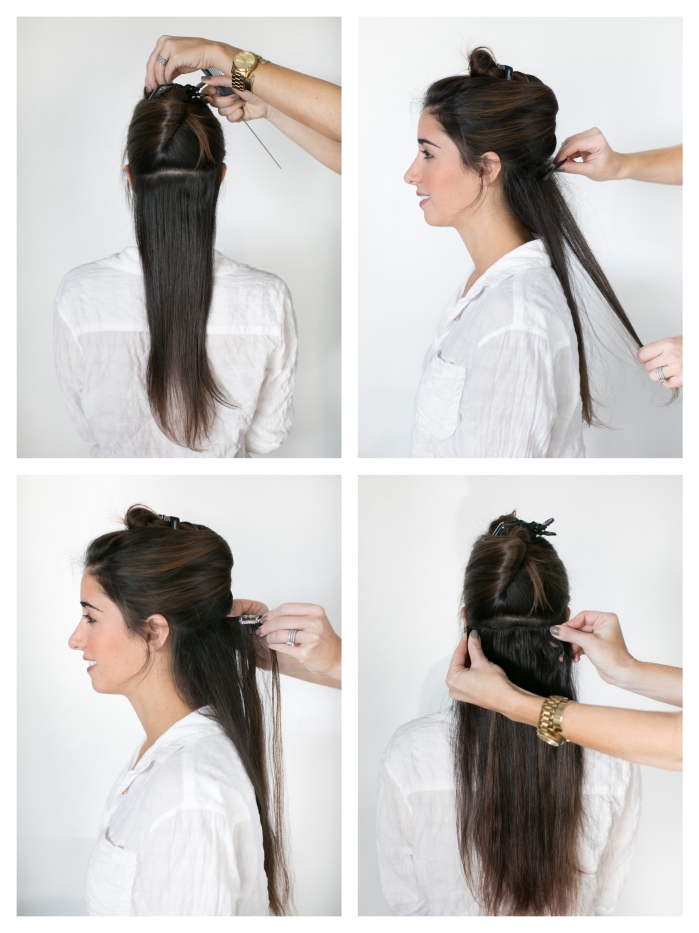 1.) Part your hair as low as you can so that the weft fits.
2.) Tease your hair lightly along the part and spray with hairspray. You don’t have to do this but I think the extensions stay better when you tease and spray (we used Living Proof Flex)!
3.) Start with the shortest of the 4 longer wefts (you will work your way to the highest), snap the middle clip in the center.
4.) Snap the two clips on the sides second.
{ create another part about 3/4 of an inch above this section and repeat steps 1-4 working your way up to the largest weft }
FINISH ON THE SIDES
5.) Part the hair just above the ear
6.) Tease, spray and snap the side extension in!
{ create another part about 3/4 of an inch above this section and repeat steps 5-6 }
7.) Loosely curl your hair to marry the extensions to your natural hair so that they are blended!
To book an appointment visit Mirror Mirror or call (512)420-8868 to book!
CONTRIBUTORS:
 PHOTOGRAPHY: Melissa Glynn has spent the past six year developing a style that aims to show off just how fantastic you are. This self proclaimed “Texas girl” loves creating images that are classic, timeless, and lovely. When she’s not behind the camera she loves playing with her pup “Nolte”, riding bicycles, traveling, yoga, and a really great glass of red zinfandel!
Get connected on her website, Twitter and Instagram!


Ady
October 15, 2014 at 10:10 pm (11 years ago)NO do not WASH extensions, you should condition them not shampoo ever unless you use alot of hair spray on them. theyll last you way longer this way!