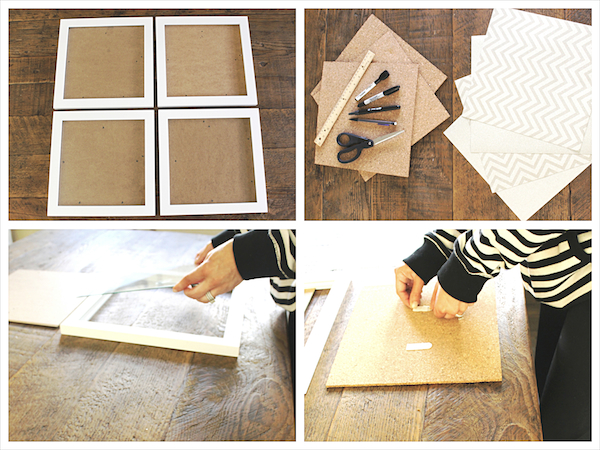
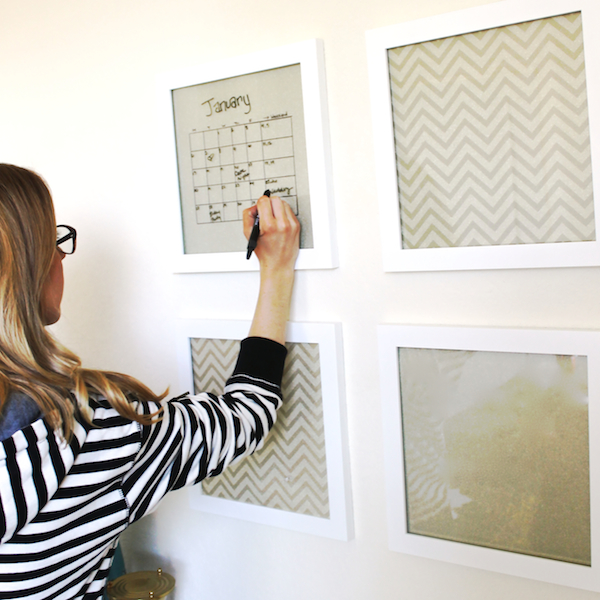
This year I have vowed to streamline my life and rely on my iCloud for syncing everything digitally. I typically have a paper planner, a notebook, and about 4 to do list going at once but for the first time EVER all I have is my phone and iPad and I am loving it. I have however, been playing around with the idea of an organization board that can live in my office for jotting down notes during a brainstorm or to keep up with birthdays and social events. The beauty of this DIY is that you could use any size frame and swap out the paper to suit your mood. I think a large frame with crinkled craft paper would be so cool in a guys office! I used 12×12 frames because there are cork board tiles and scrapbook paper already cut to that size but you could get really creative.
I’d love to know…do you stay organized with paper or have you converted to digital?
MATERIALS
Assorted frames (I used 12 x 12) Cork board tiles (these are pre cut in 12 x 12) Scrapbook Paper Ruler Scissors Command Strips or Double stick tape Dry Erase marker Sharpie PencilCORK BOARD
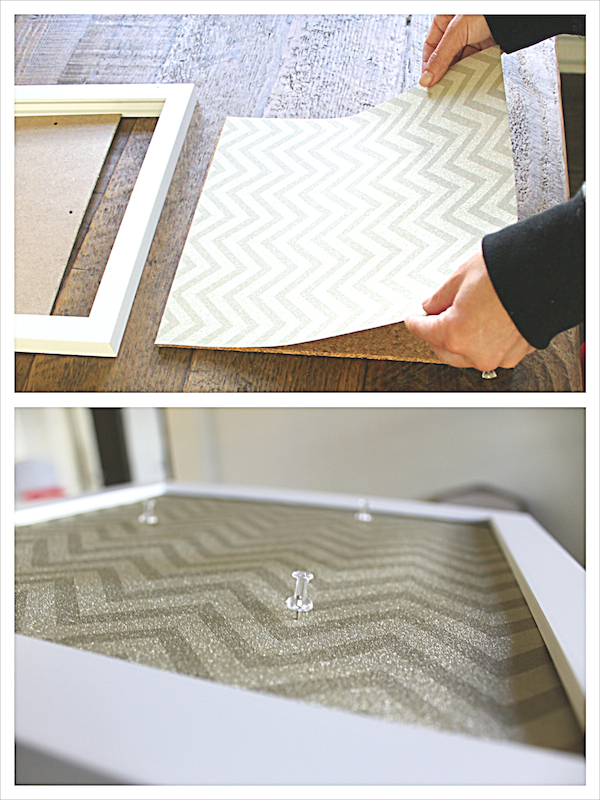
Remove the glass from the frame. Using command strips or double stick tape, attach the scrapbook paper to a cork board tile and then attach both to the back of the frame. You want to make sure all layers are attached since there wont be a glass cover on this one. Reattach the back of the frame, put a few push pins and voila!
CALENDAR
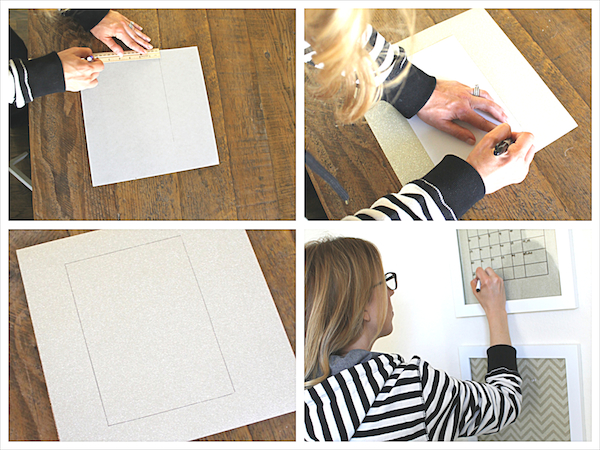
I used one of the cardboard fillers from the frame to cut out a guide for my calendar. This allowed me to test it out and play with measurements before drawing it with sharpie on my final scrapbook paper. I ended up doing 7 squares across and 5 down and made each square 1.25 x 1.25 inches but you can do whatever size you want. This left me some margin to play with around the calendar. Using a ruler, trace the outline onto your final paper with a sharpie and draw the squares and days of the week – don’t write in any numbers or the month, you will do that with your dry erase marker on the glass!
BLANK DRY ERASE
Simply put the background paper of your choice in the frame and then put them back together. I found that the smallest dry erase marker worked best for writing with more precision and the width of the frame gave plenty of room for a marker to rest on top so you always have it on hand!


